

” or “Access denied”")


 Learning Guide")


 in SharePoint Online Modern Pages")


This post is the first part of a two part step by step tutorial on how to install SharePoint 2016 in a fully automated way using PowerShell.
To read the second part, click here.
Introduction
Before installing a SharePoint 2016 farm, it is important to be familiar with its requirements. To learn more about SharePoint 2016 hardware and software requirements, click here.
Installing a SharePoint farm can be a complex task and the installation process is composed by a series of steps:
- Downloading and installing SharePoint prerequisites
- Downloading and installing the SharePoint binaries
- Downloading and installing the lastest SharePoint updates
- Downloading and installing the required language packs (optional, necessary if you want the SharePoint interface to be presented in a language other than English)
- Configuring the SharePoint farm using SharePoint Products and Configuration Wizard
All the above steps are time consuming and can be error prone if, for example, you miss to download any of the prerequisites.
Fortunately, it is possible to fully automate a SharePoint farm installation using PowerShell by using a script called AutoSPInstaller. The installation process can be divided in two major steps:
- Downloading the SharePoint installation package
- Installing SharePoint and configuring the SharePoint farm
This process can be used for the following versions of SharePoint:
- SharePoint 2010
- SharePoint 2013
- SharePoint 2016
- SharePoint 2019 (to learn more about all the new features in SharePoint 2019, click here)
In this post, I will talk about the first part of the process: downloading the SharePoint installation package and I will use SharePoint 2016 as an example.
Downloading the SharePoint installation package
The download process will be managed by a script called AutoSPSourceBuilder that will download the SharePoint installation package and all its dependencies and will create a folder structure ready to be used in AutoSPInstaller. The AutoSPSourceBuilder script will download:
- All SharePoint prerequisites
- The latest SharePoint updates
- If specified. the desired language pack
To download the SharePoint 2016 installation package, follow the steps below:
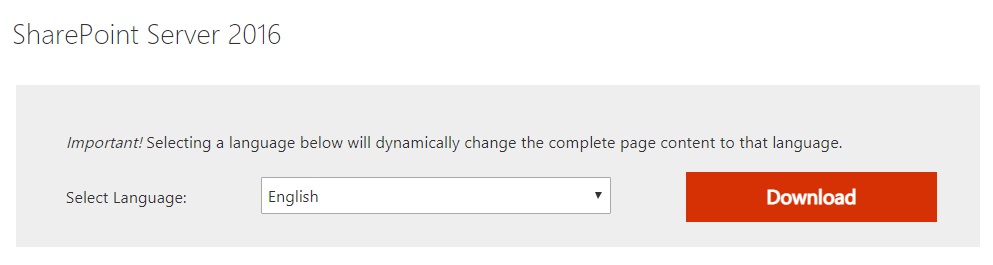
- Download SharePoint 2016.
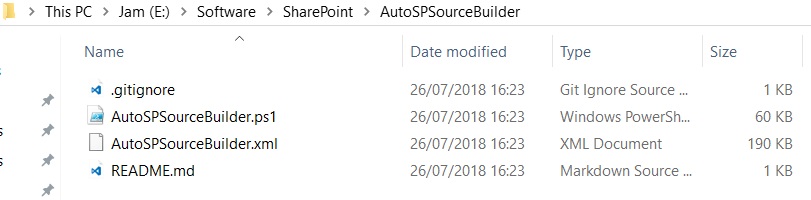
2. Download AutoSPSourceBuilder. After download, the folder should contain the following structure.
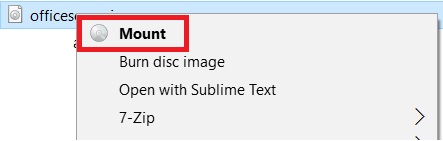
3. Mount the .iso image of SharePoint 2016.
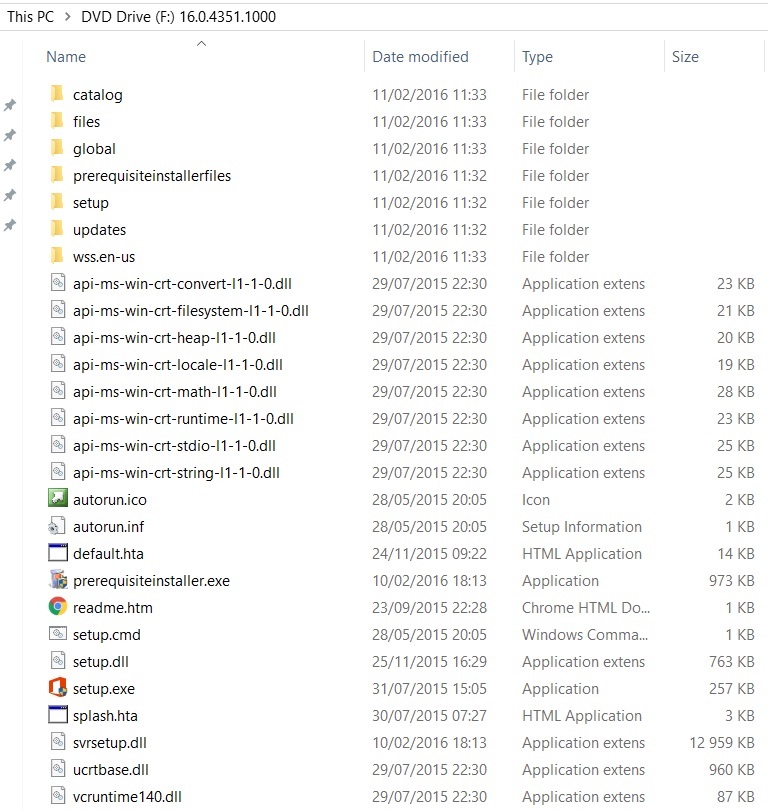
After mount, the mounted drive will have SharePoint installation files.
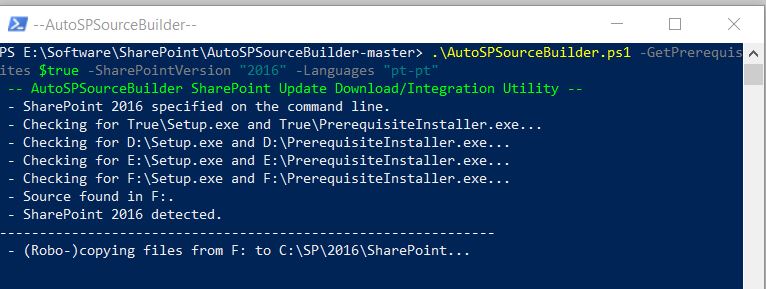
4. Run the following script in a PowerShell window (run as administrator).
.\AutoSPSourceBuilder.ps1 -GetPrerequisites $true -SharePointVersion “2016” -Languages “pt-pt”
This script will download SharePoint 2016 with all prerequisites and the Portuguese language pack. Change the “Languages” parameter to the Language Pack you want to include in your installation.
The script will start by detecting the SharePoint image that was previously downloaded. If successfully detected, it will extract the SharePoint installation files from the mounted image to the C:\SP\2016 folder.
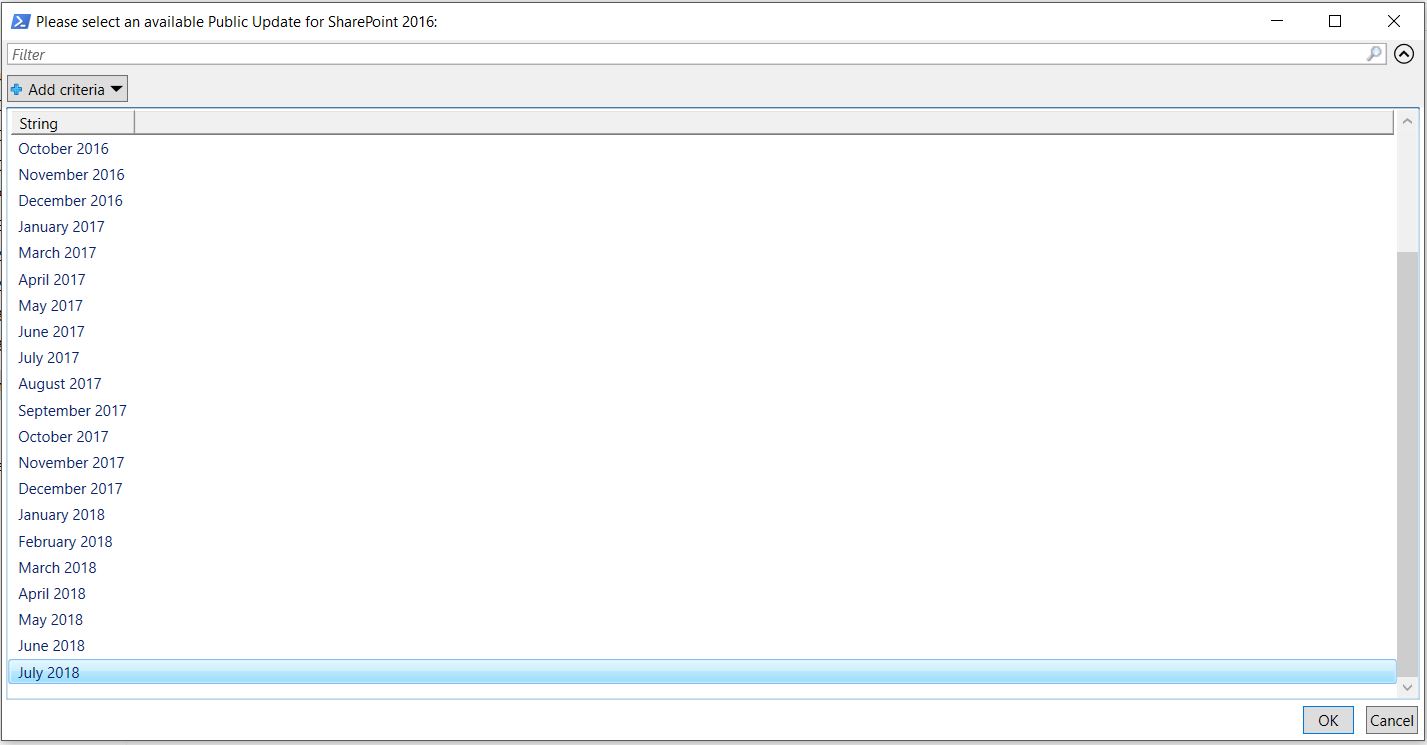
5. Once the SharePoint installation files extraction is completed, you will be asked to select the SharePoint update that you want to include on your installation package. Select the latest available package (all SharePoint 2016 updates are cumulative and include all updates contained in the previous updates).
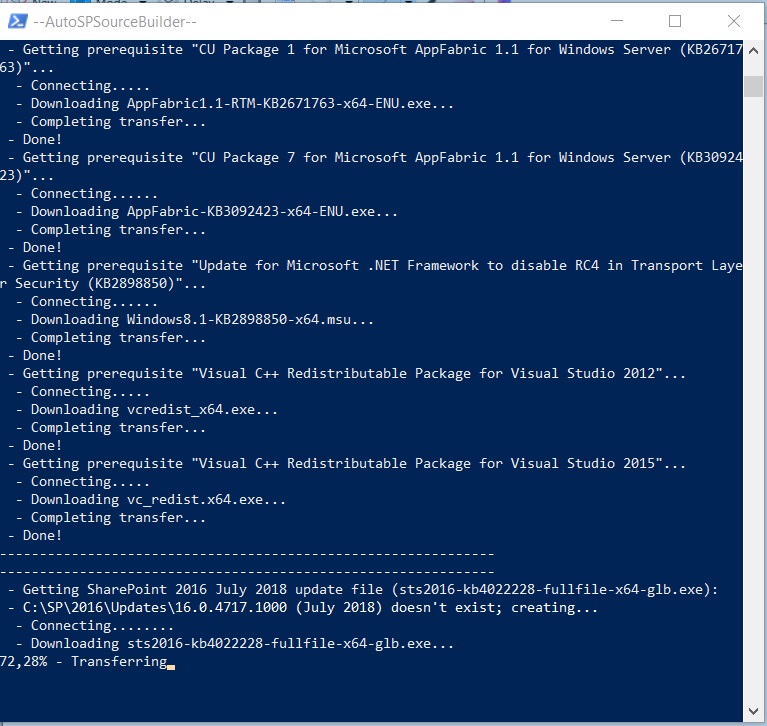
6. After selecting the SharePoint update, the script will resume and start downloading the SharePoint prerequisites. the selected language pack and the selected SharePoint update.
7. After completion, the PowerShell window should look like the image below.
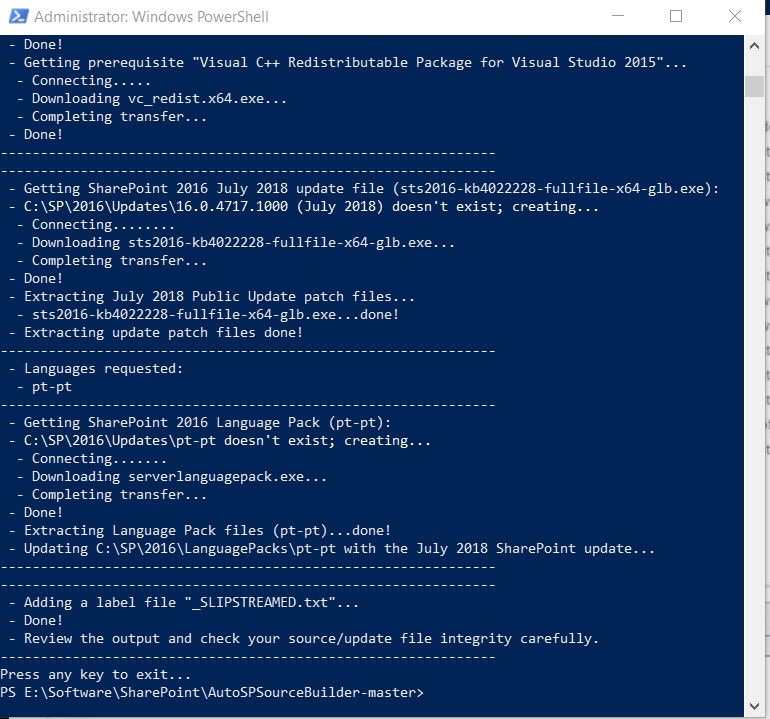
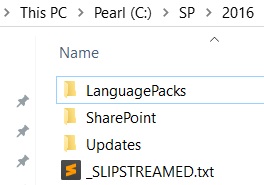
The end result will be a structure of folders and files that will contain all the necessary files to install SharePoint with AutoSPInstaller.
Root folder:
Language Packs folder:

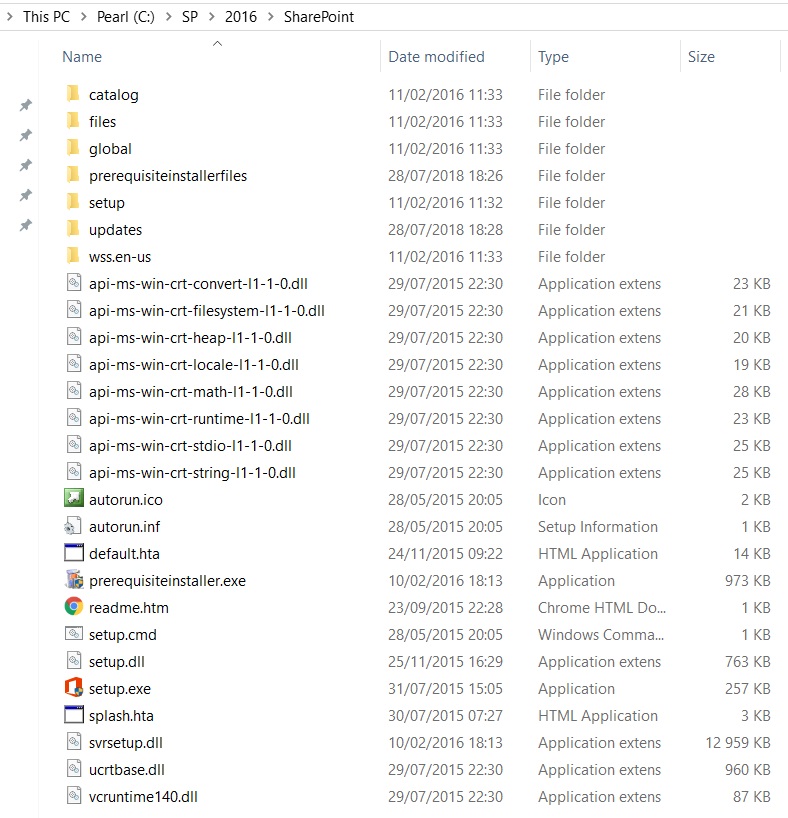
SharePoint bits folder (slipstreamed installation structure):
Updates folder:

To read the second part of this two part step by step tutorial, click here.
Related Articles
To learn why your business should migrate to SharePoint Online and Office 365, click here and here.
If you want to convert your tenant’s root classic site into a modern SharePoint site, click here.
AutoSPInstaller is also already available for the recently announced new version SharePoint, SharePoint 2019. To learn more about all the new features in SharePoint 2019, click here.
If you are a SharePoint administrator or a SharePoint developer who wants to learn more about how to install a SharePoint 2019 farm in an automated way using PowerShell, I invite you to click here and here.
If you want to learn how to upgrade a SharePoint 2013 farm to SharePoint 2019, click here and here.
If you want to learn all the steps and precautions necessary to successfully keep your SharePoint farm updated and be ready to start your move to the cloud, click here.
If you learn how to greatly speed up your SharePoint farm update process to ensure your SharePoint farm keeps updated and you stay one step closer to start your move to the cloud, click here.
If you want to learn how to upgrade a SharePoint 2010 farm to SharePoint 2016, click here and here.
If you are new to SharePoint and Office 365 and want to learn all about it, take a look at these learning resources.
If you are work in a large organization who is using Office 365 or thinking to move to Office 365 and is considering between a single or multiple Office 365 tenants, I invite you to read this article.
If you want to know all about the latest SharePoint and Office 365 announcements from SharePoint Conference 2019, click here and here.
Happy SharePointing!


Very nice.
Thanks for the feedback!