

” or “Access denied”")


 Learning Guide")


 in SharePoint Online Modern Pages")


This post is the first part of a two part step by step tutorial on how to install SharePoint 2019 in a fully automated way using PowerShell.
To read the second part, click here.
Introduction
The SharePoint world is rapidly moving into the Cloud with SharePoint Online and Office 365, but a new SharePoint Server release was recently announced by Microsoft with improved hybrid support. To learn more about all the new features in SharePoint 2019, click here.
Before installing a SharePoint 2019 farm, it is important to be familiar with its requirements. To learn more about SharePoint 2019 hardware and software requirements, click here.
Installing a SharePoint farm can be a complex task and the installation process is composed by a series of steps:
- Downloading and installing SharePoint prerequisites
- Downloading and installing the SharePoint binaries
- Downloading and installing the lastest SharePoint updates
- Downloading and installing the required language packs (optional, necessary if you want the SharePoint interface to be presented in a language other than English)
- Configuring the SharePoint farm using SharePoint Products and Configuration Wizard
All the above steps are time consuming and can be error prone if, for example, you miss to download any of the prerequisites.
Fortunately, it is possible to fully automate a SharePoint farm installation using PowerShell by using a script called AutoSPInstaller. The installation process can be divided in two major steps:
- Downloading the SharePoint installation package
- Installing SharePoint and configuring the SharePoint farm
This process can be used for the following versions of SharePoint:
- SharePoint 2010
- SharePoint 2013
- SharePoint 2016
- SharePoint 2019 (to learn more about all the new features in SharePoint 2019, click here)
In this post, I will talk about the first part of the process: downloading the SharePoint installation package and I will use SharePoint 2019 as an example.
Downloading the SharePoint installation package
The download process will be managed by a script called AutoSPSourceBuilder that will download the SharePoint installation package and all its dependencies and will create a folder structure ready to be used in AutoSPInstaller. The AutoSPSourceBuilder script will download:
- All SharePoint prerequisites
- The latest SharePoint updates
- If specified. the desired language pack
To download the SharePoint 2019 installation package, follow the steps below:
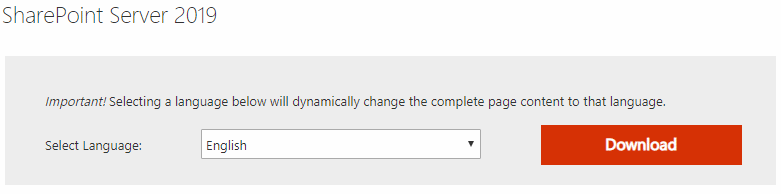
- Download SharePoint 2019.
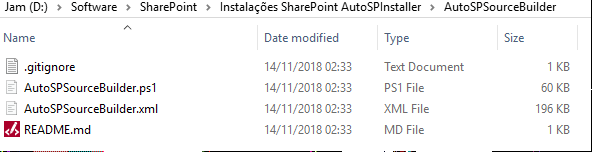
2. Download AutoSPSourceBuilder. After download, the folder should contain the following structure.
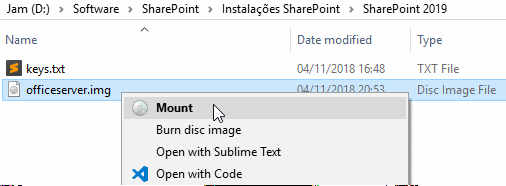
3. Mount the SharePoint 2019 .iso image.
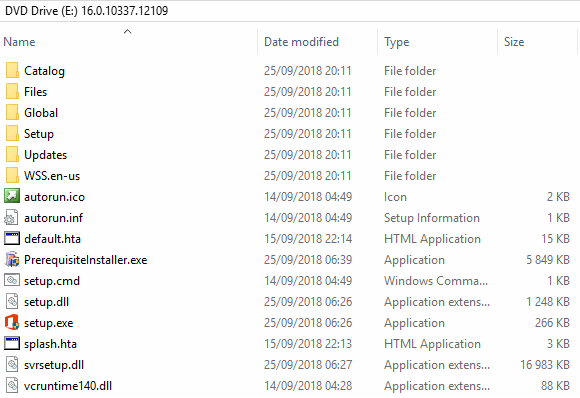
After mount, the mounted drive will have SharePoint installation files.
4. Run the following script in a PowerShell window (run as administrator).
.\AutoSPSourceBuilder.ps1 -GetPrerequisites $true -SharePointVersion “2019” -Languages “pt-pt” -LocationForUpdates C:\SP\2019\Updates
This script will download SharePoint 2019 with all prerequisites and (if available) the Portuguese language pack. Change the “Languages” parameter to the Language Pack you want to include in your installation and the LocationForUpdates parameter to the desired location where AutoSPSourceBuilder will download the SharePoint updates that will be included in the SharePoint installation.
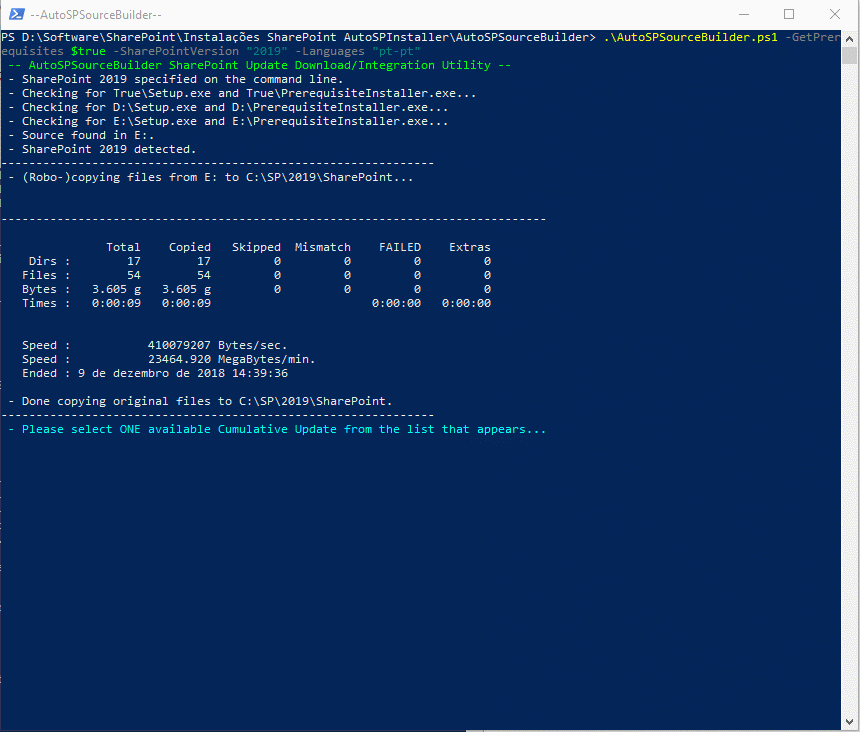
The script will start by detecting the SharePoint image that was previously downloaded. If successfully detected, it will extract the SharePoint installation files from the mounted image to the C:\SP\2019 folder.
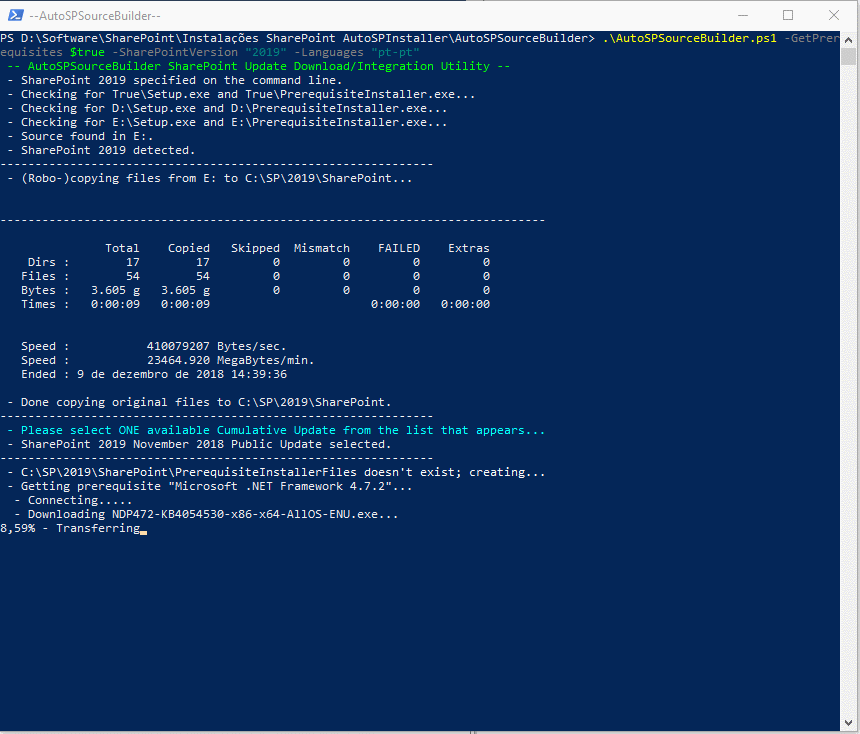
5. Once the SharePoint installation files extraction is completed, you will be asked to select the SharePoint update that you want to include on your installation package. Select the latest available package (all SharePoint 2019 updates are cumulative and include all updates contained in the previous updates). At this time, only one update is available.

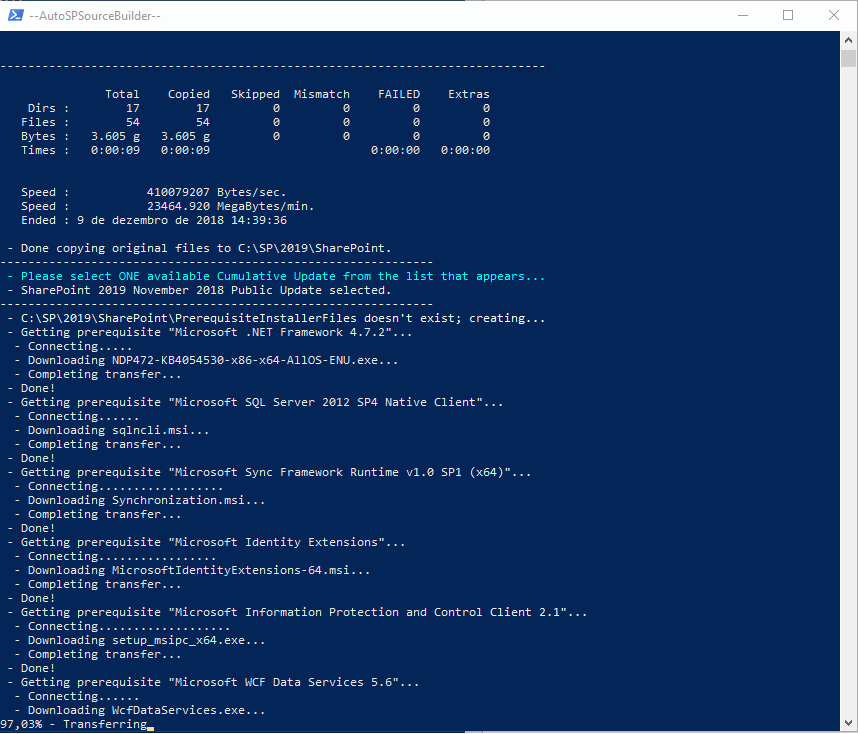
6. After selecting the update, the script will resume and start downloading the SharePoint prerequisites. the selected language pack and the selected SharePoint update.
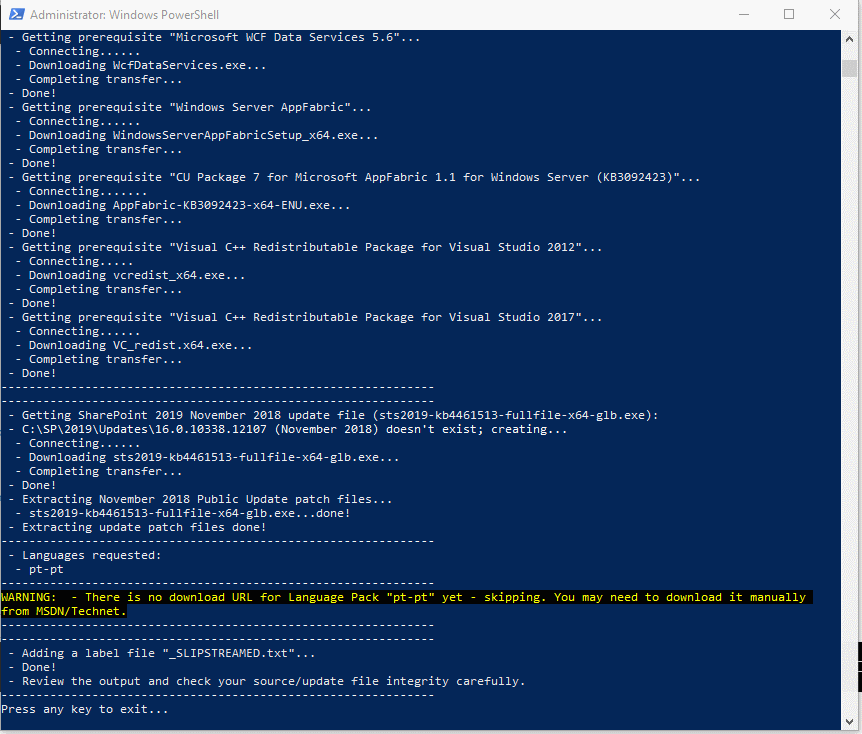
7. After completion, the PowerShell window should look like the image below. At this time, the Portuguese language pack is still not available.
The end result will be a structure of folders and files that will contain all the necessary files to install SharePoint with AutoSPInstaller.
Root folder:
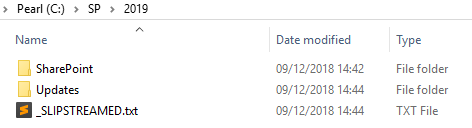
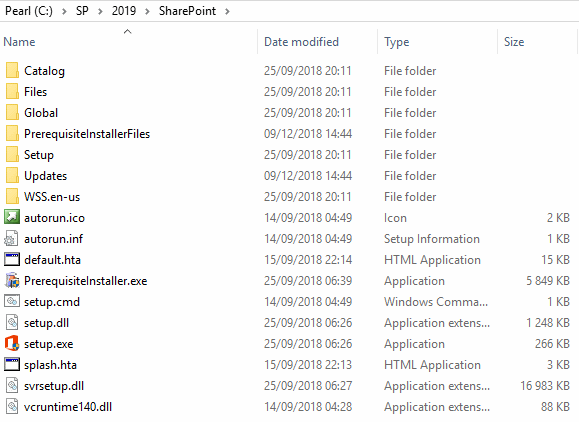
SharePoint bits folder (slipstreamed installation structure):
Updates folder:

To read the second part of this two part step by step tutorial, click here.
Related Articles
If you want to convert your tenant’s root classic site into a modern SharePoint site, click here.
To learn why your business should migrate to SharePoint Online and Office 365, click here and here.
If you are new to SharePoint and Office 365 and want to learn all about it, take a look at these learning resources.
If you are work in a large organization who is using Office 365 or thinking to move to Office 365 and is considering between a single or multiple Office 365 tenants, I invite you to read this article.
To learn more about all the new features in SharePoint 2019, click here.
If you want to learn how to upgrade a SharePoint 2013 farm to SharePoint 2019, click here and here.
If you want to learn all the steps and precautions necessary to successfully keep your SharePoint farm updated and be ready to start your move to the cloud, click here.
If you learn how to greatly speed up your SharePoint farm update process to ensure your SharePoint farm keeps updated and you stay one step closer to start your move to the cloud, click here.
If you want to know all about the latest SharePoint and Office 365 announcements from SharePoint Conference 2019, click here and here.
If SharePoint 2019 is still not an option, you can learn more about how to install a SharePoint 2016 farm in an automated way using PowerShell, click here and here.
If you are involved in a SharePoint upgrade and want to learn more about the upgrade process, click here and here.
Happy SharePointing!

")
")

Hi, I currently have to do a SharePoint 2013 server rebuild and am using your steps above. When downloading the prerequisites for SQL I get an error “An error occurred downloading sqlncli.msi, retrying…” same message repeats the whole time. how do I get around this?
Hello Lesley,
Does the PC or server where you are download the SharePoint installation has a valid Internet connection?
Please run “ping http://www.google.com -t” in a command line prompt and check if you don’t have any lost packages.
Thanks,
Miguel
Hi Miguel, thank you for the amazing script you have written. We are using it in a dev environment and successfully deployed the first Sharepoint application server.
However, we are seeing permissions issues (mostly access denied )when the application server is trying to deploy the WFE on the second server. We have opened the relevant ports on the firewall, allowed “log on locally” within the local security policy and added the sp_admin account to that policy amongst many other things. We even edited the Pshell module and added the -i switch for the psexec call.
Any ideas?
Thanks
CK
Hello CK,
To successfully add a second server to your SharePoint 2019 farm, you need to follow the steps at https://blogit.create.pt/miguelisidoro/2018/12/09/how-to-install-a-sharepoint-2019-farm-using-powershell-and-autospinstaller-part-2/ (part 2 of this post). About permissions, that post explains the permissions you need. Pay also attention to the “Multi-Server Installation (SharePoint servers)” section that has instructions on how to install the farm with multiple servers.
Thanks,
Miguel